Introduction
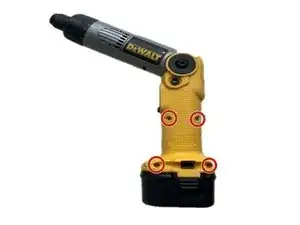
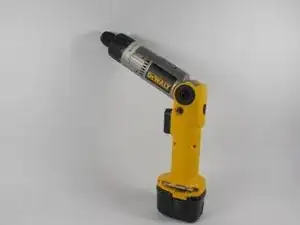
Replacing the trigger on your DeWalt DW920 can be done if you find that your trigger is unresponsive or sticks or only partially activates the drill. From the process of safely opening the device, replacing the old trigger to testing your tool to make sure you have it back in the best shape, this guide will provide you with all those steps and more.
What You’ll Need:
A Phillips #2 screwdriver
Alternative trigger for the DeWalt DW920
Estimated Time: 15–30 minutes
Important: Firstly, it is necessary to turn off the device and to discharge the battery if it is on it to avoid electric power consequences.
Following this guide shall help you to fix your drill and get it to work again!
-
-
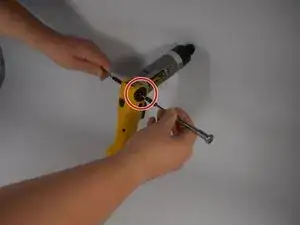
Remove the Outer Housing Locate and find screws that are used to join the outer covering of the drill.
-
Taking the Phillips #2 screwdriver, unscrew all the screws that join the two parts of the casing.
-
In order to get to the inside of the housing, take the two halves and carefully pry them apart. Make sure not to touch any parts of the interior of the vehicle.
-
-
-
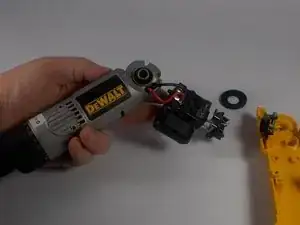
Find and replace the Previous Trigger Where is the trigger assembly, it should be found somewhere inside the drill.
-
It’s the component affixed to the motor and the wires. Loosen the wiring of the trigger carefully in such a way that you have to separate the connections on the terminals.
-
-
-
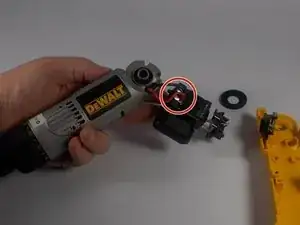
Install the New Trigger Place the new trigger in the position within the housing where the old trigger originated from.
-
Solder the wires together by placing the terminal in the connector.
-
Make sure the trigger is locked tightly in its position.
-
-
-
To reassemble the drill, align the two halves of the housing back in their correct positions making sure that the internal parts, and in particular the trigger, is correctly positioned.
-
Put the screws back into their respective holes and fasten them with the Phillips #2 screwdriver.
-
-
-
Test the Trigger Connect the battery again or plug the drill back in.
-
Pull the trigger to make the drill glide and to engage the rig. If it will not operate correctly, retract and examine its wiring and the position of the trigger.
-

To reassemble your device, follow these instructions in reverse order.